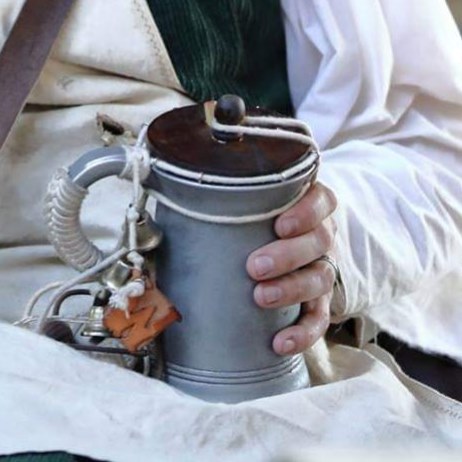
Nothing quite beats a cold drink on a hot day at faire! You take the brand new mug or goblet you bought, saunter on over to the bar and have the lovely beer wench fill it to the brim. As you head out into the streets and onto the next show, you want to be sure to avoid dust flying into your drink! So what are you to do?
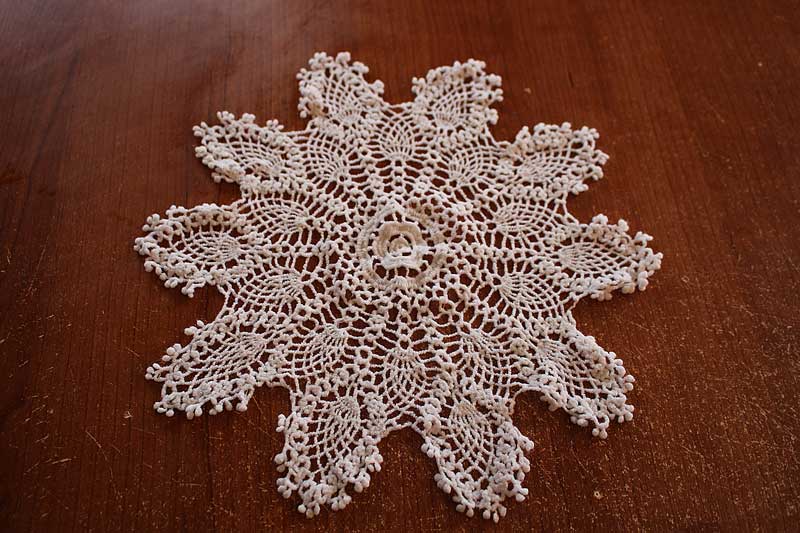
Simple! Get a doily.
Little covers like this are popular throughout Renaissance Festivals, especially among the court and gentry. These covers can be found in many different forms. Some people prefer a fitted leather cap, and you can buy mugs with a handy top attached to them. I’ve seen some lovely hand embroidered pieces and even knitted ones if you’ve got the talent. It’s such a small distinction that adds a touch of elegance to your garb. Not to mention a practical way to keep dust, pebbles, or sneaky friends out of your beverage. On top of this, it’s a relatively inexpensive D.I.Y., especially if you put in a little extra work.
For me, I don’t happen to have any knitting or leather-working skill! So I had to work with an alternative. Hand-dyed Doilies.
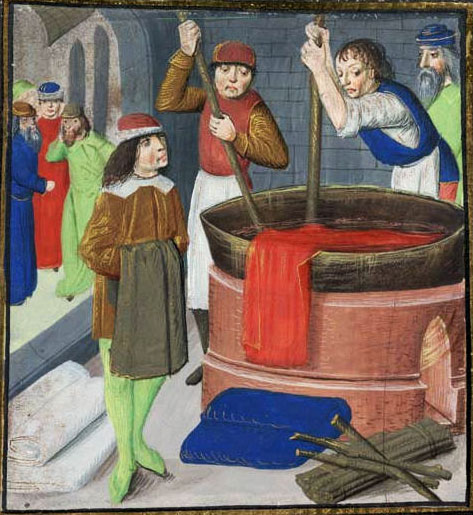
Period Inspired Natural Dyes
Dyes were exceptionally popular in the Elizabethan era, the production of which was a laborious and expensive process. Dyes were made from natural resources such as plants and insects. Now don’t worry, I’m not suggesting you go around grounding up beetles to get that special color! You would be amazed at the number of brilliant hues you can get from scraps you can find in your kitchen.
You would think it would be easy enough to figure out what color you are going to get just by looking at the color of the plant. But it can be a wee bit more complicated than that. Do your research and don’t be afraid to do a little trial and error with cotton fabric strips. Experiment by combining items in similar colors to see if you can get a more saturated color or a better hue. But for a general guide, consider the following:

Natural Dye Quick Guide
- Onion skins – Yellow/orange
- Carrots -Orange
- Lemon – Yellow
- Coffee grounds – Brown
- Tea – Tan
- Avacado (skin & seed) – Light Pink
- Red Cabbage – Blue/Purple
- Beets – Deep Red
- Cherries – Bright Red
- Artichoke – Green
- Spinach – Green
True, you could go to the store and find a chemical fabric dye. But really now, where’s the fun in that? This gives you the opportunity to try something new and get a feel for it. Besides, this gives you more control over the color you want and the designs you can achieve. It’s a bit of a process, so set aside a few hours and make sure your kitchen is clean. Let’s get to the steps!
D.I.Y Goblet Cover
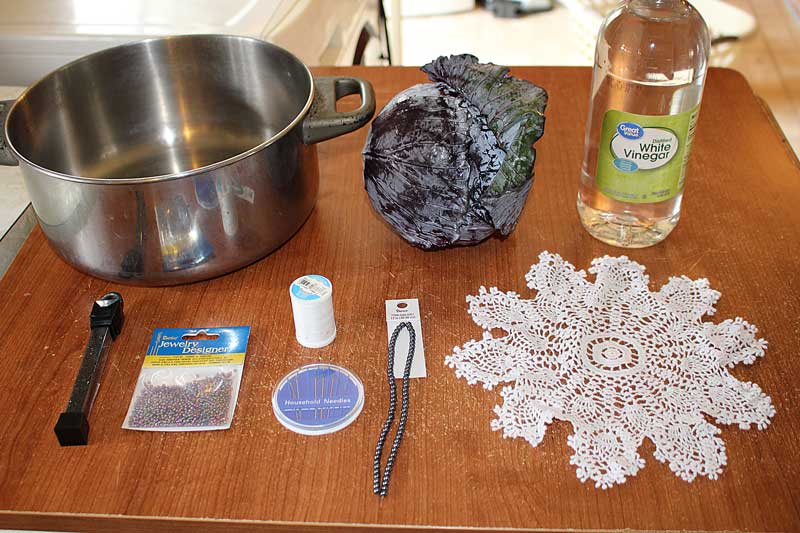
Supplies:
- Cotton doily/cloth (should be wider than your goblet mouth)
- 1 cup plant matter
- 2 3/4th cups water
- 1/4th cup white vinegar
- Saucepan
- Sieve
- Bowl
- Rubber Gloves
- Beads
- Thread
- Needle
- Scissors
Step One: Fabric Fixative
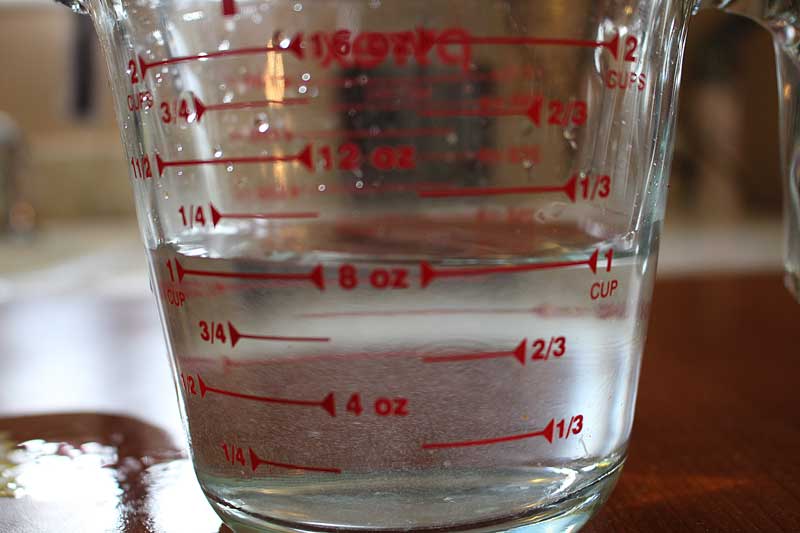
Your doily should be cotton, which means you’ll need to make a vinegar bath so that the dye will take. Add 1/4th a cup of white vinegar to 3/4th cup of water in a saucepan and heat until boiling. Remove from heat and place your doily into the bath for one hour. Make sure it is submerged and saturated all the way through.
Step Two: Prepare The Plant Matter
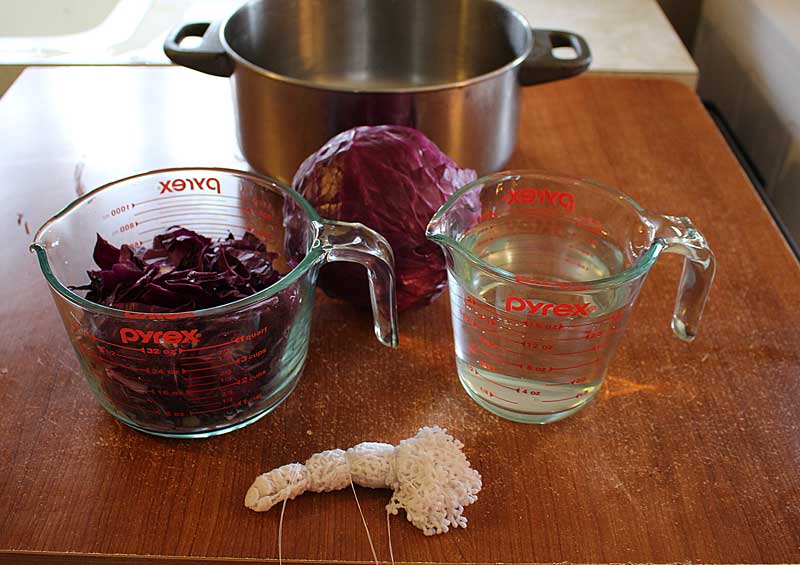
Take the plant matter, in my case red cabbage, and chop it up. Pay attention to what you are using. In some cases, only specific parts of the plant will produce the color you are after. This is why experimentation beforehand is key. You will want at least a cup of plant matter and about 2 cups water, although for a strong saturation you may want to reduce the amount of water used. I cut my water in half for a richer purple.
Step Three: Make The Dye
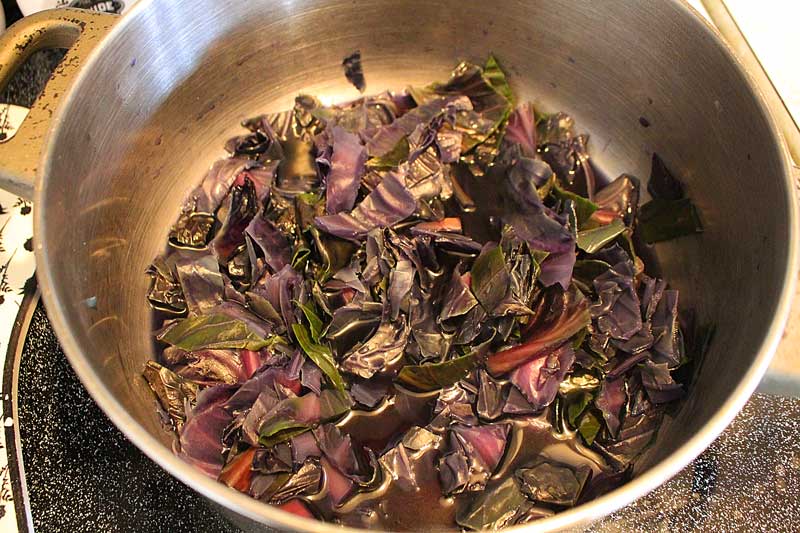
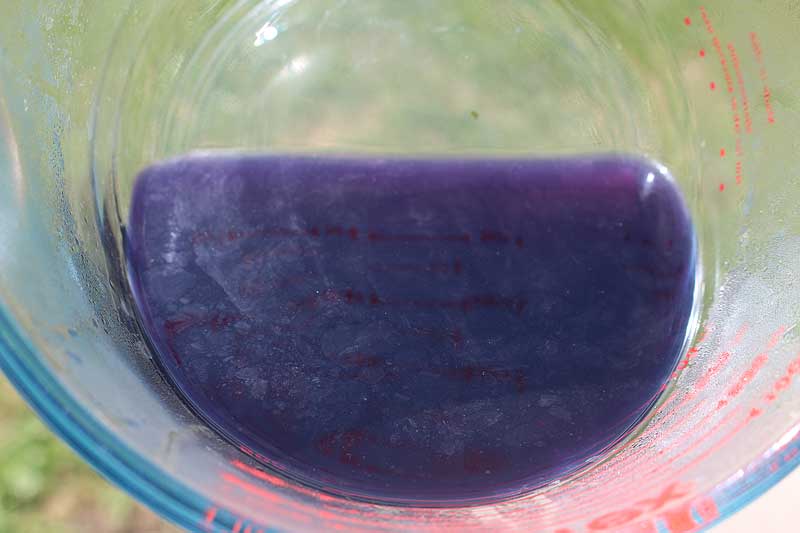
Make sure that your saucepan is cleaned out. Place the plant matter into the pan and pour in your water. Bring this to a boil and keep it simmering for about an hour or until you achieve the color you desire.
NOTE: Red cabbage goes through a blue phase. No worries. Just keep it simmering until it passes into purple
Once it achieves the desired color, strain it through a sieve over a large bowl. Put on your rubber gloves and give the plant matter a good squeeze or two to get out all the dye.
Step Four: Prepare Your Doily
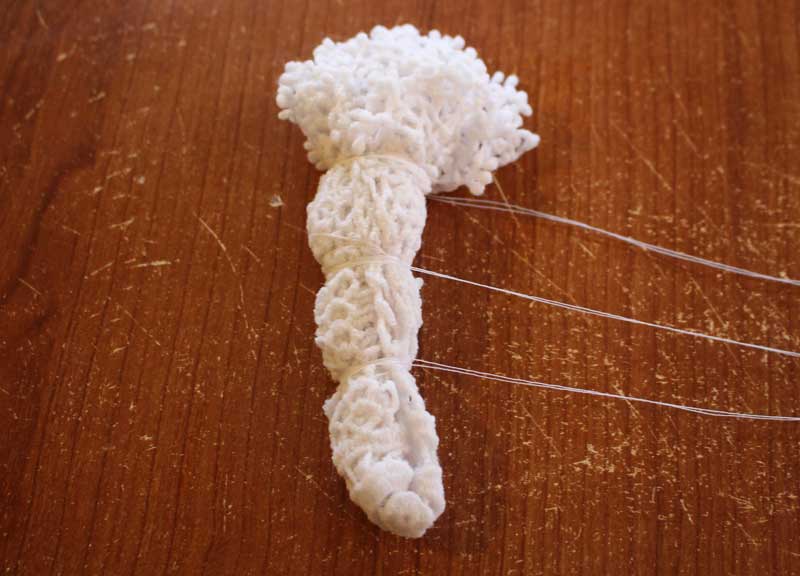
Once the doily has soaked, take it out and rinse it under cool water. Wring it out thoroughly and pat it a bit. If it is too wet, it will absorb all of the dye. That’s fine if you want a uniform color, but if you want more or a tie-dye effect, you need to control the rate of absorption.
For a tie-dye look, roll your doily into a tight package and tie with string.
Step Five: Dyeing the Fabric.
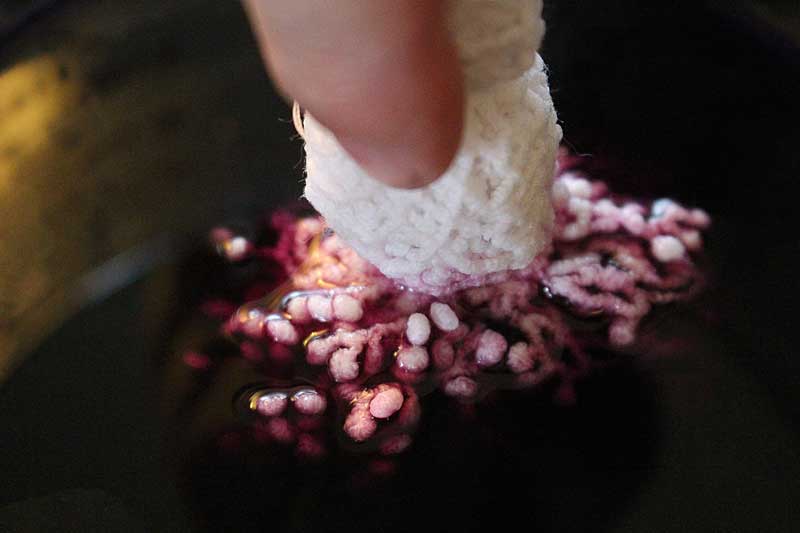
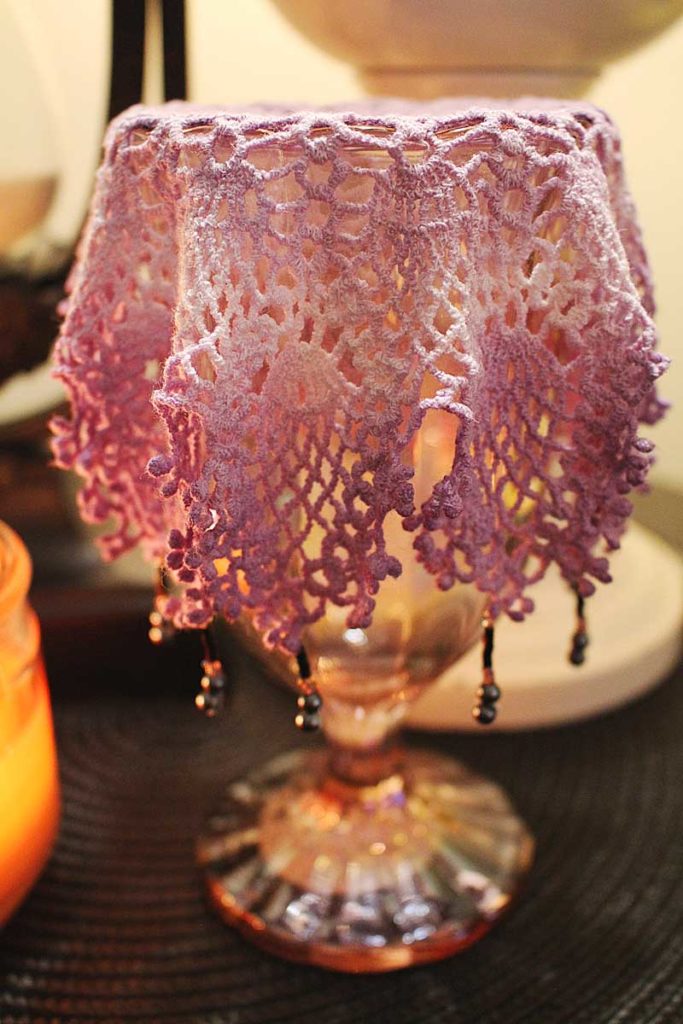
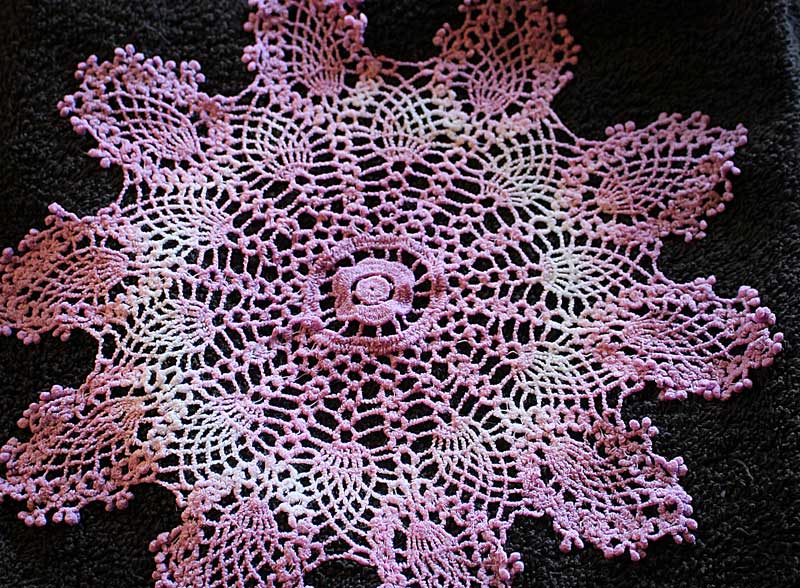
You can submerge your doily entirely if you’d like for a vibrant, all-over color. However, I decided to play with things a bit and dipped the top and the center inch of the doily for ten minutes each, then the top and center ½ inch for another ten minutes to achieve a lavender to purple gradient.
Remember, the longer you soak the fabric, the more saturated the colors will become. If you want a very strong color, leave it to soak in the dye overnight.
Step Six: Rinse and Dry
Once you have gotten the color you like, rinse the cloth out with cold water and squeeze to get the water out. Leave it to dry, or toss it in the dryer real quick. Just make sure not to put it with anything you don’t want to end up that color!
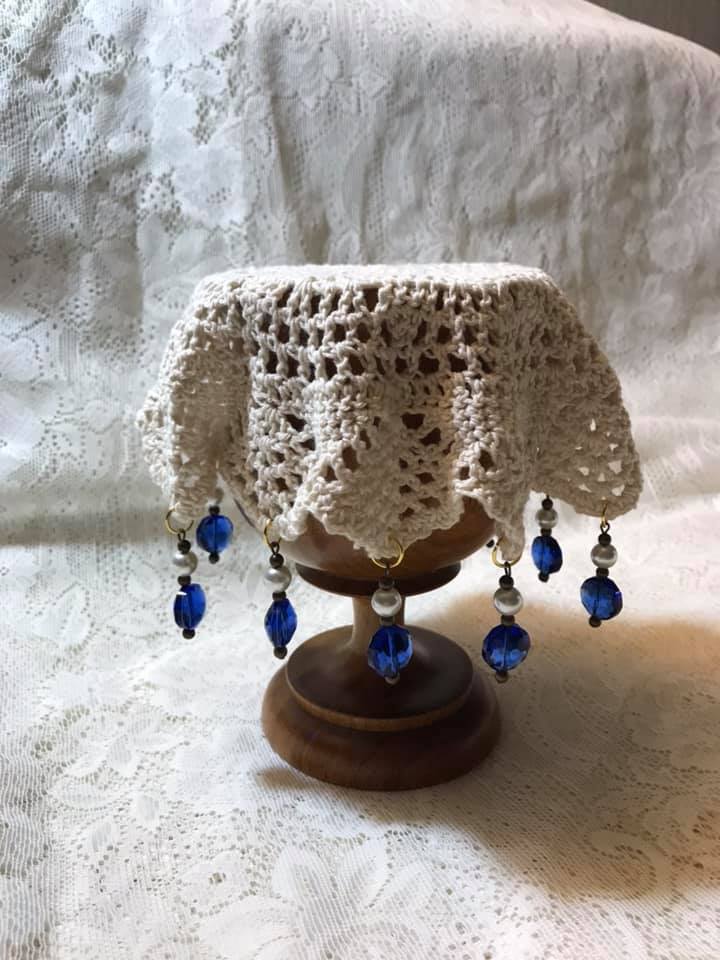
Step Seven: Beading
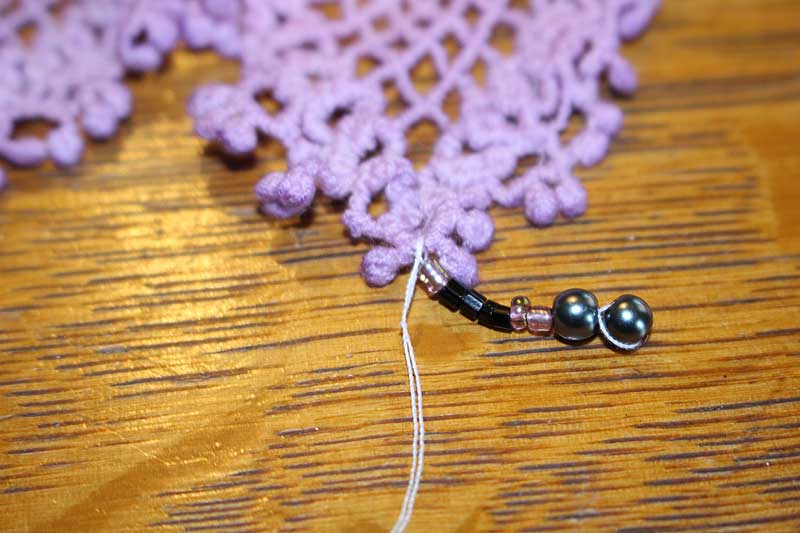
You could stop here if you like, or go on embellish the cloth with beading. I would advise this because it adds weight to the cloth/doily which will make it difficult for it to get blown off. Besides, it just looks really pretty! Make sure they have enough weight to them to hold the cloth without tearing it. I like to use a larger bead at the bottom and loop the thread so that the others will fall into place. If you have a doily, you can tie this onto the edges. If you have a cloth, thread a needle and sew it onto the corners.
Remember, part of a DIY is about expressing your creativity! You could embroider the edges, loop a ribbon through it, or add a trim. This is a small but dignified way of adding to your overall appearance and of course, if you can make it match your garb it just adds so much to the aesthetic!

Add Your Faire Crafts to the #orfstories Community!
Don’t forget, you can get your faire crafts to appear on the ORF Instagram feed with just a quick hashtag. Use #orfstories to let us see your ren faire project!