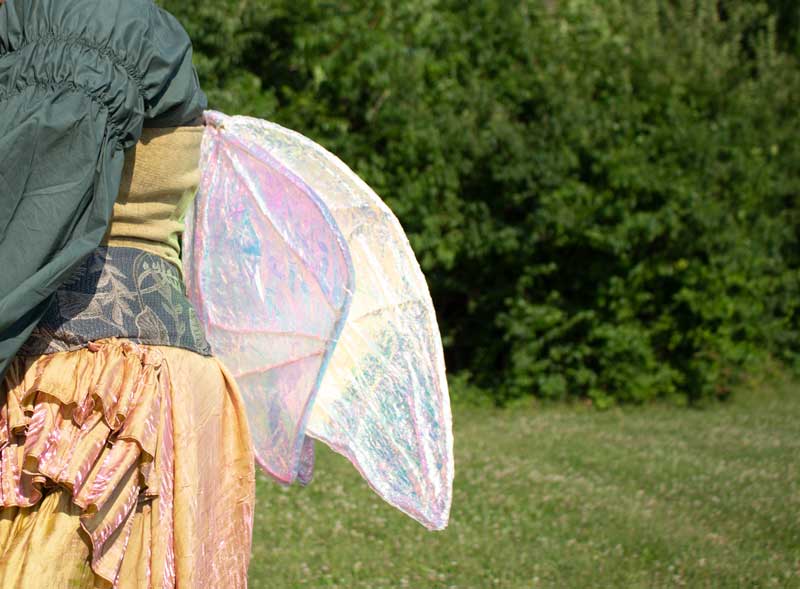
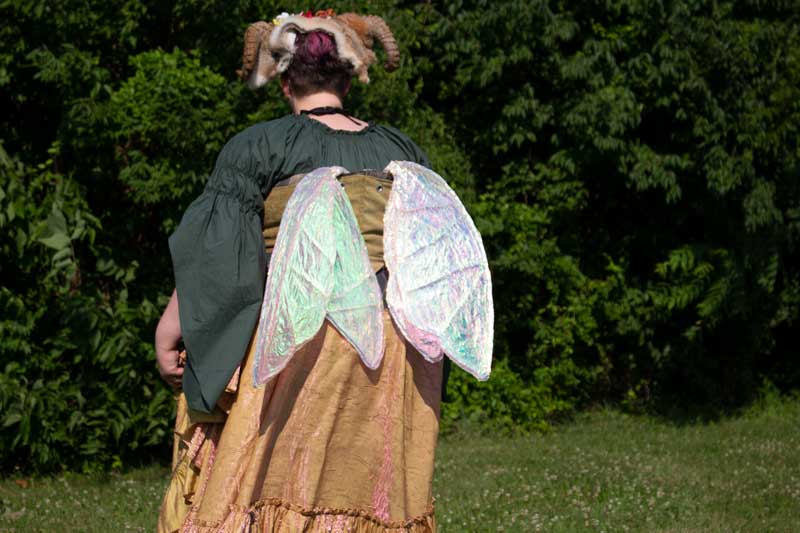
You’ve seen them all over the internet. Beautiful, translucent wings with dancing colors that shift as the light shines through them. Everybody wants a pair, I know I do! There are some truly beautiful wings of high-quality fairy wings you can buy from professional artisans (and if you are able to support these artists we whole-heartedly encourage you to). But if the price tag seems a bit out of your budget, making your own pair is well within reach!
This is not to say that the ones on Etsy aren’t worth the money. It’s clear that many are made from stronger materials and require a much more involved process to create. For some, especially those who are professional fairies, investing in such wings are a necessity, as they have to stand up to packing, travel, all sorts of weather conditions, and excited kids giving them a tug to see if they’re real. But for those of us who aren’t quite as die-hard, it’s more cost-effective to make our own.
Here’s what you need to do!
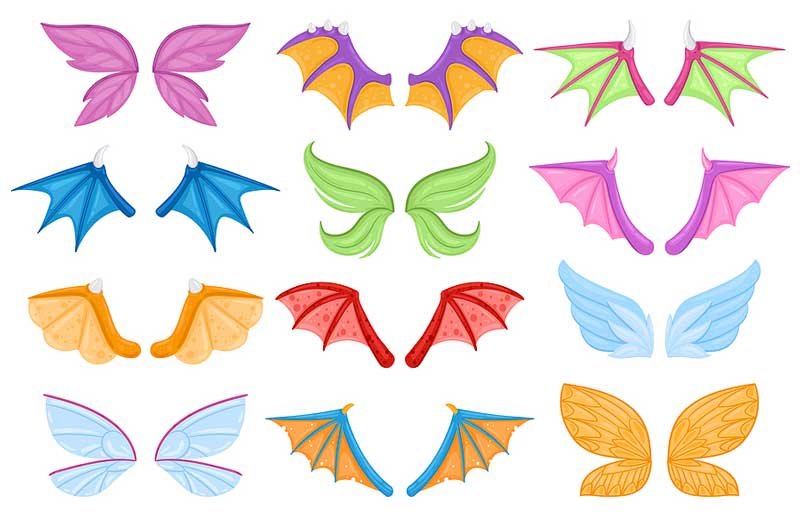
Get Inspired
First of all, take a look at different wing examples. Each set has its own personality so you want to pick one that suits your fae persona. They don’t need to be massive. Sometimes a cute little pair is enough. But consider what kind of fae folk you want to be and pick a style of wings that will lend itself to that persona. Keep in mind what you’ll be doing while you have your wings on. Planning to shop your way through faire? You may want to consider wings that lie closer to your back so you don’t knock into people or merchandise. Once you’ve selected the style you want, it’s time to begin!
Gather materials
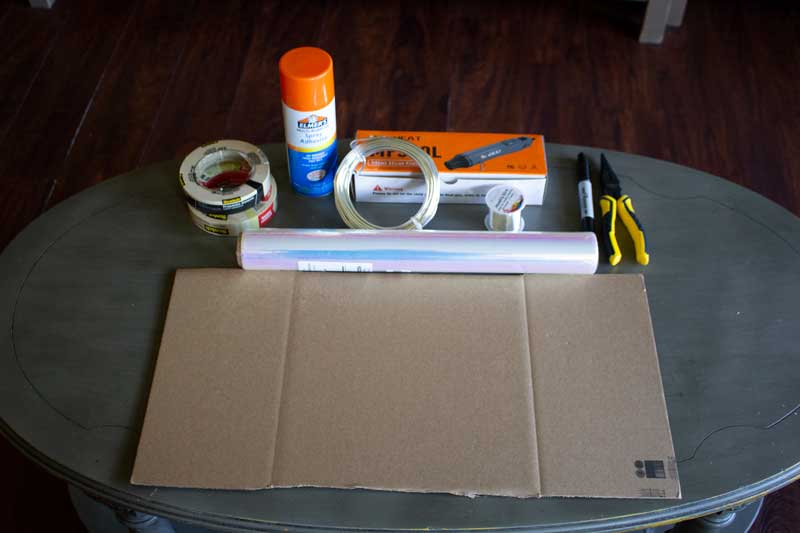
- Galvanized wire (9 gauge)
- Jewelry/Crafting wire (20 gauge)
- Wire cutters
- Large pliers
- Large piece of cardboard
- sharpie
- Masking tape
- Scissors
- Heat gun
- Spray adhesive
- Iridescent cellophane
- 1 in width strips of felt fabric
Instructions
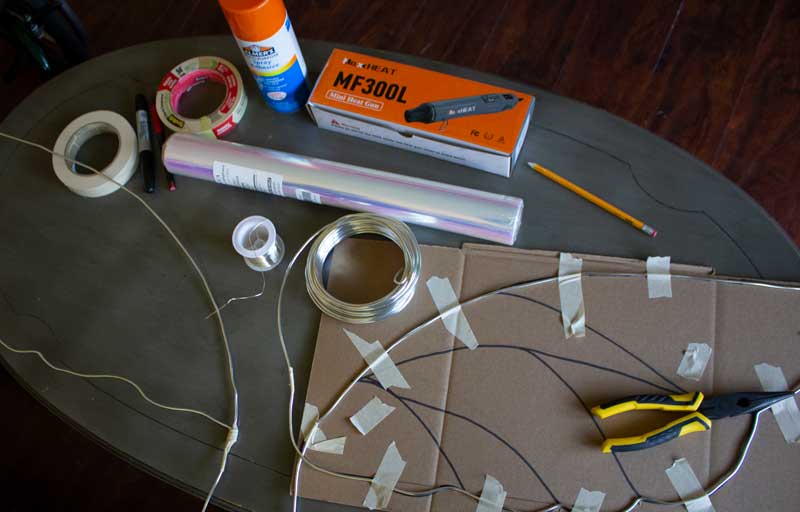
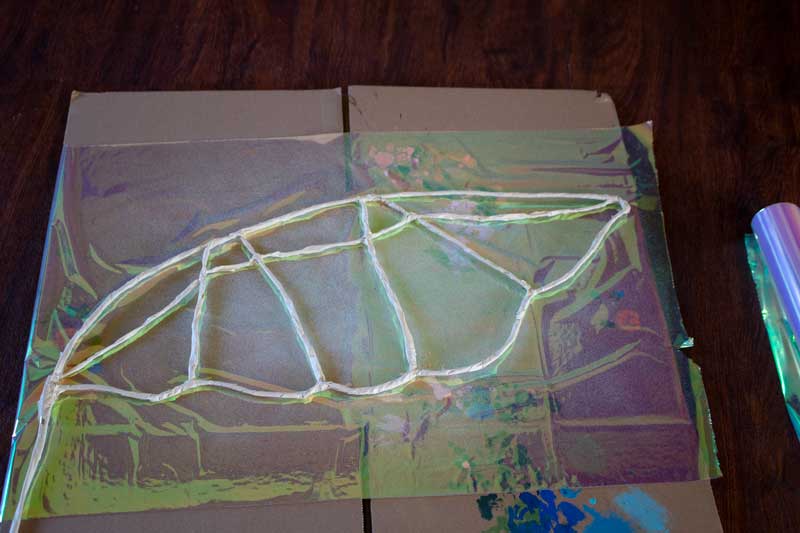
1) Draw your wing design on a piece of cardboard. You’ll be using this as a pattern to keep your wings the same size and shape.
2) Bend the wire along the outside shape of your wings using the cardboard pattern as a template. Start from the bottom of the wing and trace the pattern with the wire, taping it down to the cardboard to hold it in place. Use pliers to help bend the wire when needed, such as when making sharp curves. Once you arrive back at the beginning, wrap the excess wire around the beginning end. Wrap this with tape on it to hold it in place and cushion the end of the wire.
4) Continue on without cutting the wire, making the U-bend next. The u-bend is what will be slipped into your corset to hold the wings to your back.
5) Flip the wire armature to the opposite side and make the next wing, this time following the pattern from top to bottom.
6) After both wings and the u-bend are complete cut the wire with 3 – 4 inches extra length. Wrap this extra around the wire armature and secure with tape.
TIP: If your U-bend feels flimsy, cut another piece of heavy gauge wire the same length as the u-bend and secure it to the u-bend with a tape wrap.
7) Cut a length of jewelry wire double the length of one of your inner lines that form the wing “cells.” Fold the wire over the point in the wing the cell line will start. Bring the two halves of the wire together and begin to twist them. Once you reach the point where the wing cell line will end wrap the jewelry wire around the heavy gauge wire to secure it. Continue to do this until you have the cell lines filled in to create your wing design.
9) Wrap the entire armature in masking tape.
10) Place a sheet of cellophane on a flat surface and spray with adhesive. Lay your wing on top so that the cellophane covers a wing, NOT the U-bend. Lay another sheet of cellophane on the top, sandwiching the wire armature in between. Press together firmly and let rest for 5 minutes. Repeat on the second wing.
12) Cut off the excess cellophane, leaving about half an inch extra around the edges of the wing.
11) Move the heat gun slowly over the entire surface of the wing on both sides, paying special attention to the edges to laminate both sides together.
TIP: Go slowly and keep an eye on your cellophane. Some heat guns have a much higher temperature and can burn through the cellophane quickly. You may want to practice on a scrap piece before working on your wings.
12) Repeat step 10 – 11 at least 3 times. Three to four layers of cellophane will provide a stronger wing with plenty of shimmers.
TIP: You may want to wrap your u-bend in fabric to make it more comfortable to wear
Be sure to store your wings gently and check them for rips and tears periodically during the year. If you take good care of your wings they ought to last you a season or two before needing to be repaired or replaced. Have fun, and be sure to post your wings on Instagram with the #orf2022 so we can see what you’ve come up with!